 Most fasteners are essentially springs, and when these fasteners fail it is usually abrupt, “out of nowhere,” and caused by fatigue. Fatigue failure is estimated to account for 80-90% of all fastener breaks. However, by its very definition, fatigue damage happens over time, due to repeated loading that stresses an already weakened location. ASTM E1823-10a, Terminology Relating to Fatigue and Fracture Testing, defines fatigue as: “The process of progressive localized permanent structural change occurring in a material subjected to conditions that produce fluctuating stresses and strains at some point or points and that may culminate in cracks or complete fracture after a sufficient number of fluctuations.” Preventing fatigue failure is a critical part of engineering designs.
Typically, designing to meet or exceed standards such as those set by ASTM can account for many points of failure. However, even fasteners that meet the standards required for an application are capable of fatigue failure. This can happen from something as minor as a chip or fracture caused at any point of the manufacturing or installation process, and mass-produced fasteners are especially prone to this sort of flaw as they tumble down production lines. In the event of a failure, a metallurgical analysis of the failed part is necessary to understand where and why the failure occurred, to prevent it from happening again.
While scanning electron microscopes (SEM) are frequently used for this sort of metallographic analysis, optical microscopes have their uses as well. Optical microscopes have true color abilities, allowing you to better see deformations or flaws such as different metals mixing when they shouldn’t. The presence of fatigue fracture hallmarks, however, such as beach marks or ratchet marks, can be more difficult to analyze with focusing issues.
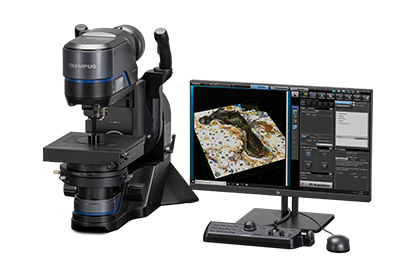
In a modern optical microscope like the DSX1000, however, z-stitching negates this flaw entirely, as it completely eliminates the focal point issue. It allows an entire surface to be seen at focus at the same time. By analyzing the beach mark lines and measuring the ration of fatigue surface to the fast fracture surface, it is possible to get some insight on how the failure happened and the direction of the forces, thus enabling a better investigation into the ultimate cause of the failure.
Check out our DSX1000 and other microscope offerings to see what you’ve been missing.


 To make this site work properly, sometimes we place small data files called cookies on your device. This is a common practice for websites.